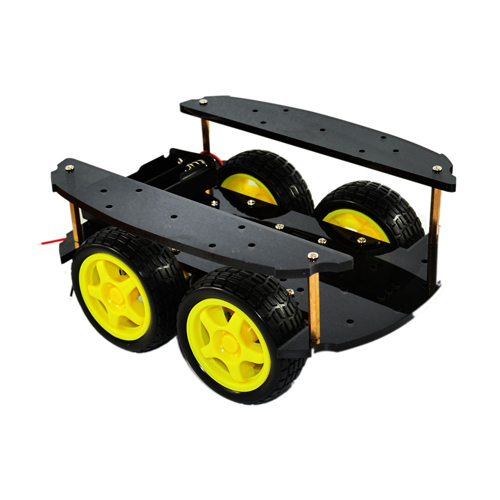
Product Details
Description:
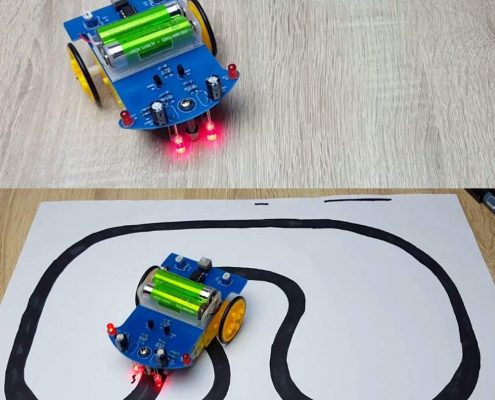
competitions, you can have a lot of fun and learning putting this kit together and understanding the theory behind the way the Light Dependent Resistors detect the difference between the black of the line and the white of the area outside the line, if you’re helping a youngster put this kit together you can instruct them in reading the resistor codes or using a multimeter to identify the ratings of the resistors so placement on the PCB is correct.
(1) Install circuit:
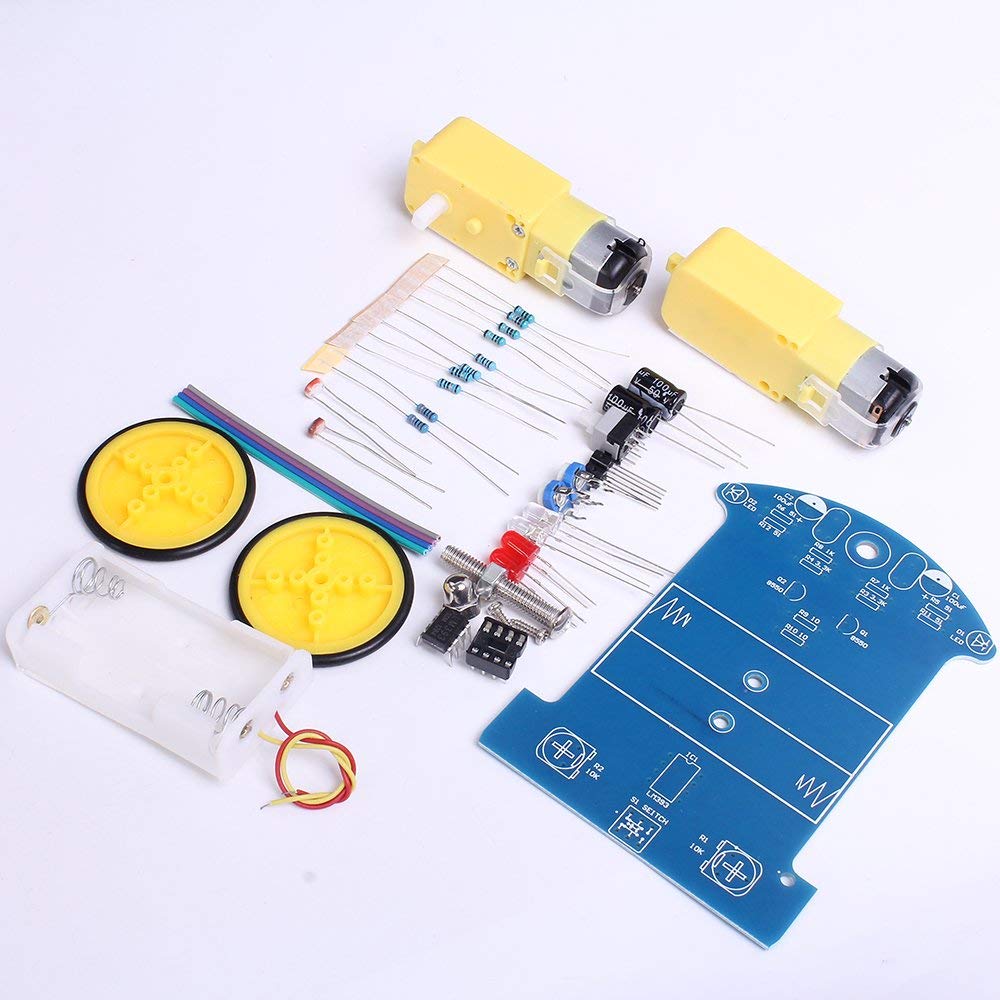
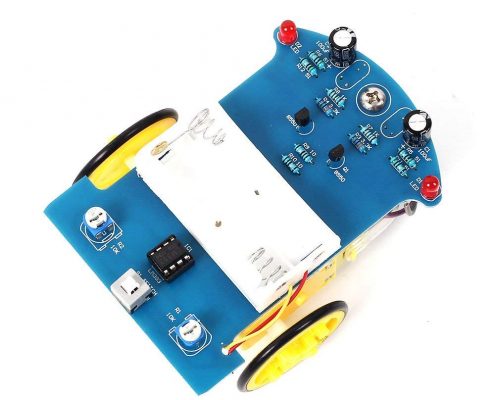
① Install metal film resistor, DIP-8P IC socket, Self-Locking switch, Potentiometer, S8550, Capacitor, Red LED on PCB according to mark on PCB.
② Install Mecanum wheel, the support bolts of the caster are inserted into the hole, tighten the nuts screwed into the caster, and finally fit the caster and tighten.
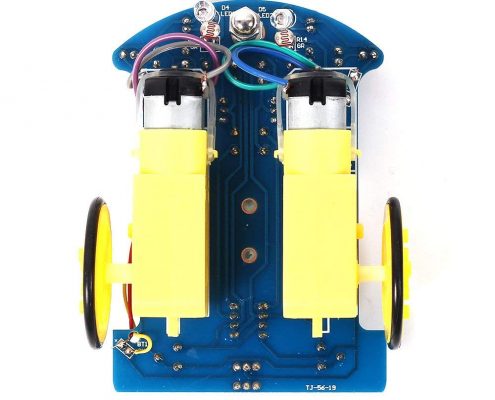
③ Install photoresistance resistance and white LED on PCB reverse.
④ Install battery case.
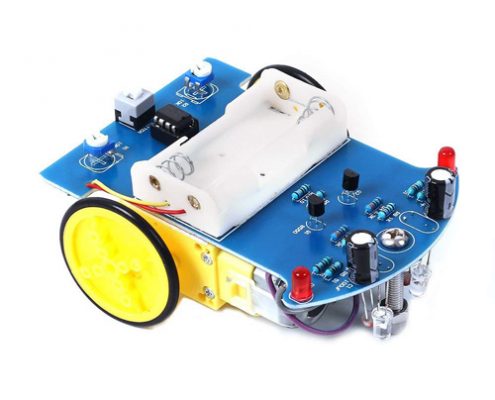
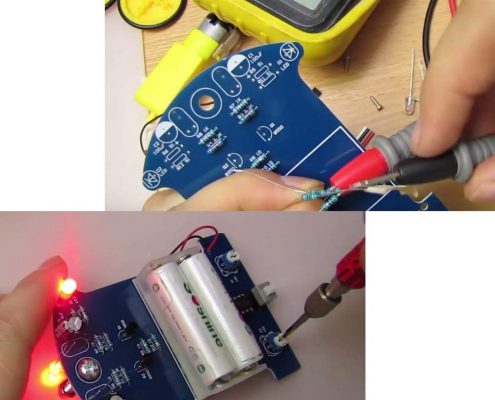
⑤ Testing: Use 2pcs AA batteries; Press on switch. If 2pcs white LED ON, the installation is successful. If LED off, please check the welding.
(2) Install mechanical parts:
① Install the four gaskets on the circuit board.
② Insert a steel shaft from the center hole of the wheel, and note that the direction is inserted from one side of the raised sleeve of the wheel. It is better to insert the steel shaft parallel to the smooth side of the wheel.
③ Put a three-way sleeve into the steel shaft, close to the wheel, and then a gasket into the steel shaft, close to the three-way sleeve, installed in place, toggle three-way sleeve, should be flexible.
④ Place a gear into the steel shaft in the center of the steel shaft.
⑤ Put a three-axis sleeve into the end of the steel shaft so that the car side of the wheel assembly to complete.
⑥ Install motor.
⑦ Testing: Power on. Check S8550 or 10ohm resistor if motor don’t move; Install LM393.

-705x705.jpg)
-705x705.jpg)
